How-to
Wood Burning Tips for Beginners: What to Get Right on Your First Pieces
Published
Short answer
Start on sanded basswood, set the heat on a scrap and let a slow, light stroke do the burning. The numbers that matter: sand to 220 to 320 grit, give a solid-point pen 4 to 5 minutes to warm up, and begin in the low to medium band, about 400 to 750 F (200 to 400 C). Raise the heat only until a steady stroke leaves a toast-brown line.
This page is advice for first pieces: 15 points in three groups of 5, in the order you meet them. If you searched for tips in the sense of the metal ends of the pen, go to the wood burning tip chart, which shows every shape. Most first-burn failures have the same few causes: rough or unsuitable wood, too much heat, too much pressure and a hand that stops. Each point below gives the figure or the habit that prevents one of them, with a link to the full page where there is more to say.
Pyrography for beginners: the numbers to know first
These five figures cover most of what goes wrong on a first piece. Everything else on the page is habit, and habit comes from practice on scrap.
| What | Figure | Why it matters |
|---|---|---|
| Sanding before burning | 220 to 320 grit, with the grain | A smooth surface lets the tip glide and keeps lines crisp |
| Warm-up, solid-point pen | 4 to 5 minutes | A pen that is still heating gives uneven marks |
| Starting heat on basswood | Low to medium: 400 to 750 F (200 to 400 C) | The target is a toast-brown line, not a black one |
| Pressure | Light, as with a pencil | Pressing cuts a groove and makes lines wider |
| Sanding after burning | 220 to 320 grit, very lightly | Takes off transfer lines and the brown halo before sealing |
Before you burn: 5 wood burning tips on wood and setup
The first five points are done before the pen touches the project. They decide how hard everything that comes after them will be.
- 1
Pick pale, soft, even-grained wood. Basswood is the standard choice. Pine and cedar burn unevenly because of their soft and hard bands. The wood chart compares 12 species.
- 2
Sand with the grain to 220 to 320 grit, then wipe off the dust. A blank that feels smooth out of the packet usually still gains from a pass at 220 or 320.
- 3
Burn only bare, untreated wood. Never burn pressure-treated, painted, stained or varnished wood, MDF or particle board. Open a window and set a fan to pull smoke away from your face without blowing on the tip.
- 4
Tape the stand to the table, keep the cord behind your hand and let a solid-point pen heat for 4 to 5 minutes. Put the pen back on the stand every time you set it down.
- 5
Keep transfer lines light. Trace with little pressure so the graphite sits on the surface. Heavy lines dent the wood and are hard to erase later.
First lines: 5 pyrography tips on heat, speed and pressure
Darkness comes from three things together: heat, how long the tip stays on the wood and pressure. Change one at a time so you can see what each does.
- 1
Set the heat on a scrap of the same wood. Start low and go up one step at a time until a steady stroke leaves a toast-brown line. The temperature chart gives a starting band for each wood.
- 2
Use light pressure and hold the pen like a large pencil. The longer the tip stays in one place, the darker the burn, so slow down for a darker line instead of pressing.
- 3
Match the heat to your hand. A slow hand needs less heat and a fast hand more. If the tip glides with no drag and the line is black, the heat is too high.
- 4
Keep the tip moving as it lands and as it lifts, so no dark dot forms at the ends of a stroke. A sharp tip tends to follow the grain on curves, so slow down there and turn the wood, not your wrist.
- 5
Learn one tip first. The universal tip handles lines and filling on a solid-point pen, and a writing nib does the same job on a wire burner. Try every new tip on scrap before the project.
Note.On a pen with one fixed heat, makers list about 900 to 950 F, which is the high band. You cannot turn it down, so move faster and touch lighter.
Shading, cleaning and finishing: 5 more wood burning tips
The last five points cover what happens once the outlines are down: building tone, tip care, small mistakes and the finish.
- 1
Shade cooler than you draw. Drop the heat about one band below your line setting and build the tone in several light passes. See how to shade pyrography.
- 2
Look at the tip every few minutes and clean it when carbon builds up, because carbon blocks heat. Never use coarse sandpaper on a tip, and do not turn the heat to maximum to burn the carbon off.
- 3
Fix mistakes while they are small. A pale mark comes off with a sand eraser and a brown line scrapes away with the side of a blade. See how to fix wood burning mistakes.
- 4
Change solid tips only when the pen is cold, with pliers. Take the tip out after each session so it does not seize in the barrel.
- 5
Finish the piece. Erase or lightly sand off transfer lines with 220 to 320 grit, wipe the dust away, then seal. Water-based and acrylic finishes change the color least. See how to seal pyrography.
Is pyrography hard to learn?
The basics are not hard. There are three controls, heat, speed and pressure, and one rule: the longer the hot tip stays on the wood, the darker the mark. What takes time is making the same stroke the same way twice. That is practice, and it comes faster on good wood with a sanded surface.
The kind of pen changes the learning curve a little. A solid-point pen with one fixed heat leaves speed as the main control. A pen with a dial, or a wire-nib burner, lets you lower the heat and move slower, which is easier for shading and fine detail.
A first wood burning pen practice session, step by step
One practice board teaches more than a first project. Use a scrap or the back of a blank, sanded the same way as the front, and allow about 30 minutes.
- 1
Rule 4 pencil lines about 4 in (10 cm) long. Burn along each at a steady speed, the first two with the grain and the next two across it, and compare how the tip behaves.
- 2
Burn 5 parallel lines at 5 different speeds, slowest first, without changing the heat. This shows how much darkness comes from speed alone.
- 3
Burn a row of 10 dots, holding the first for about 1 second and each one after it for less. Then burn 10 short dashes that land and lift while the hand is moving.
- 4
Pencil 3 circles about 1 in (25 mm) across and burn them, turning the wood as you go. Curves show whether the heat is low enough to steer.
- 5
Write your name or the date in letters about 1/2 in (12 mm) high. Then write the dial position and the wood on the board and keep it.
How to tell your pyrography practice is working
You are ready for a real piece when the practice board shows these signs. If one is missing, repeat that exercise, not the whole board.
- Lines are an even toast brown from end to end, with no dark dot at the start or the finish.
- There is no brown halo beside the lines. A halo means the heat is too high or the hand too slow.
- The surface is not grooved. Run a fingernail across a line: it should barely catch.
- Two lines burned a minute apart look the same, which means the heat and your speed are steady.
Quick answers
Short answers for people starting out with a wood burning pen. Each point is covered in more detail in the sections above.
- Is pyrography hard? No. The basics are heat, speed and pressure. Even lines come with practice on scrap, and smooth shading takes longer.
- What is the best wood for pyrography for beginners? Basswood: pale, soft and even-grained, so a burn shows clearly at low to medium heat.
- What are the basic wood burning techniques? Lines, dots and stippling, and shading built up in passes. All of them use the same light pressure.
- What temperature should a beginner use? Start low and stop at the first setting that gives a toast-brown line. On basswood that falls between 400 and 750 F.
- Do I need many tips to start pyrography? No. One universal tip or writing nib covers first pieces. Add a shading tip when you begin to shade.
What you need for this
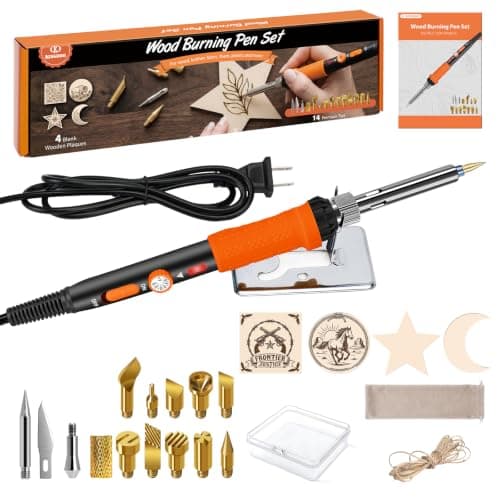 See price on AmazonAmazon
K KERNOWO 23-piece kit, dial 200-450 C, 14 tips
From Best Wood Burning Kit for Beginners: Starter Pens Compared
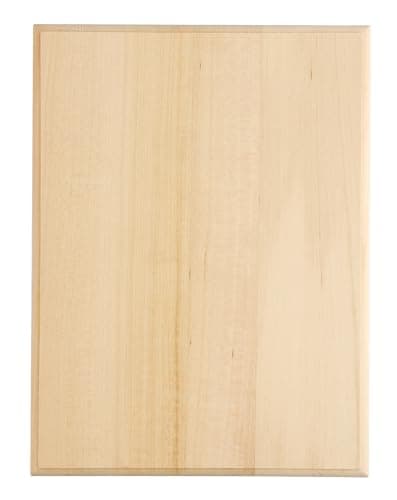 See price on AmazonAmazon
Foggy Bottom basswood plaques, 10 x 8 in, 5-pack
From Best Wood Blanks for Pyrography: Rounds, Plaques and Ornaments
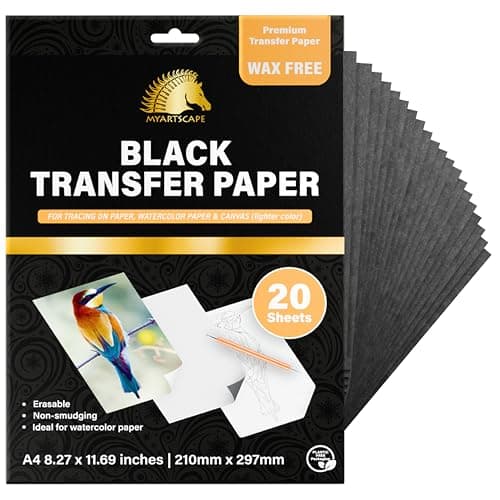 See price on AmazonAmazon
MyArtscape wax-free graphite paper, A4, 20 sheets
From Best Graphite and Transfer Paper for Wood Burning Patterns
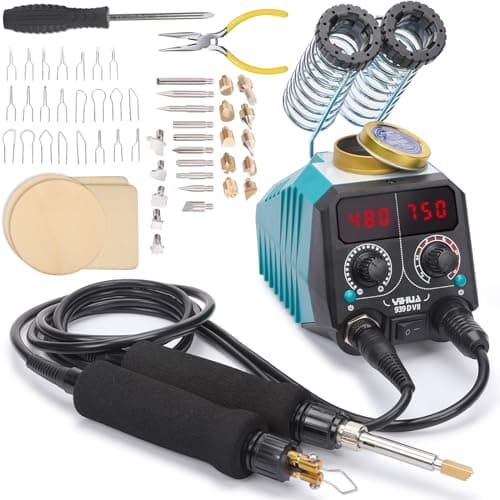 See price on AmazonAmazon
YIHUA 939D-VII 2-in-1 station, solid and wire pens
From Best Wood Burning Tools With Adjustable Temperature Control