Fix
How to Fix Wood Burning Mistakes: Scraping, Sanding and Covering
Published
As an Amazon Associate we earn from qualifying purchases. This does not change our picks. Affiliate disclosure
New to Prime? Try Prime free for fast, free shipping on eligible items.
Short answer
Match the fix to the depth of the burn. A pale surface mark comes off with a sand eraser or 320-grit paper. A brown line is scraped away with the side of a sharp blade. An overburned patch is sanded with the grain at 220 and then 320 grit. A black burn that has sunk into the wood cannot be erased flat, so build it into the design.
Gear for this job
All 7 picks comparedFoggy Bottom basswood plaques, 10 x 8 in, 5-pack
See price on AmazonSee it on AmazonWilson Basswood Round Wood Slices, 4 Pack
See price on AmazonSee it on AmazonMineIdea Unfinished Gothic Arch Wood Plaques, 12
See price on AmazonSee it on Amazon
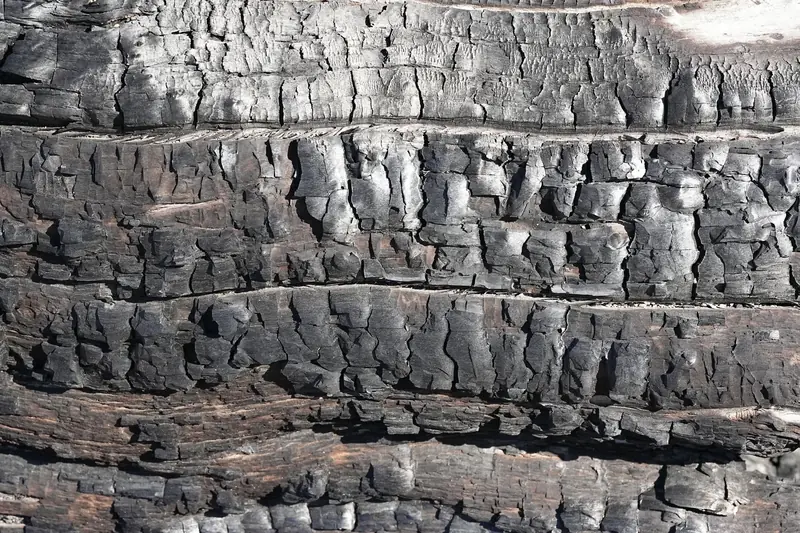
This is for a piece that is mostly good and has one thing wrong: a stray line, a dark blob, a brown halo or a blotchy patch. The tip has browned the wood fibers and, on a hot or slow stroke, pressed a groove into them. Every fix therefore removes wood, and the deeper the burn, the more wood has to go. Start with the table, pick the gentlest method that works and stop while the surface is still level. Do all of it with the pen off and before any finish goes on.
Pyrography mistakes: what you see, cause and fix
Find the row that matches the mark. The rows run from the most common mistake to the least common, and each fix is explained further down.
| What you see | Likely cause | What to do |
|---|---|---|
| Brown halo or scorched edge along the lines | Heat too high, or the hand too slow | Sand lightly with the grain, 220 to 320 grit. Turn the heat down for the rest of the piece |
| Dark dot or blob where a stroke starts or stops | The hot tip touched down or paused before it moved | Scrape the blob with the side of a blade. Start and end strokes with the tip moving |
| Stray or wobbly line, pale to mid brown, no groove | A slip of the hand, or the tip followed the grain | Sand eraser on a pale mark, blade scraping on a brown one |
| Blotchy or striped patch of shading | Tip held still, heat too high or a rough surface | Sand the patch evenly, 220 then 320 grit, and shade again cooler in several passes |
| Grey pencil or transfer lines beside the burn | Graphite pressed in hard during the transfer | Sand eraser first, then a light pass with 320 grit |
| Line too wide, or a groove a fingernail drops into | Too much heat or too much pressure | Scrape to lighten it, then widen the matching lines so it fits in |
| Black, sunken burn or a charred pit | Very high heat, or a long pause in one spot | Do not dig it out. Redesign around it or cover it with a darker element |
How deep is the burn? Pick the pyrography fix by depth
Run a fingernail across the mistake. If the nail does not catch and the mark is pale tan, the burn is on the surface. If the mark is brown and the nail barely catches, it is shallow. If the nail drops into a groove, or the mark is black, it is deep. That one check decides the tool.
| Method | Works on | What it does to the surface | Before sealing |
|---|---|---|---|
| Sand eraser | Pale surface marks, graphite lines | A slightly dull spot, almost no dip | Brush off the crumbs |
| Side of a blade | Brown lines and blobs | A shallow dip the width of the scrape, with raised fibers | Smooth with 320 grit, wipe off the dust |
| Sandpaper, 220 then 320 grit | Halos and blotchy patches | A wide, shallow low area. Nearby light shading goes with it | Sand the whole face lightly so it matches |
| Burning around or over it | Deep grooves and black burns | No wood removed. The design changes instead | Nothing extra |
Note.A dip that is hard to see on bare wood can show once a finish adds sheen. Blend every repair into the wood around it before you seal the piece.
Pyrography eraser: a sand eraser for light marks
What is sold as a pyrography eraser is a sand eraser: half eraser, half sandpaper, with fine grit mixed into the rubber. It works as a very mild abrasive that you can aim at one line. Rub with the grain in short strokes with light pressure, and check after every few strokes.
It lifts pencil and light transfer lines well and takes the top off a pale burn. It does not remove all of a dark graphite line that was pressed in hard, and it does little to a brown or black burn. For those, move on to the blade.
How to scrape out a wood burning pen line with a blade
Scraping is the standard fix for a line or a small blob. The side of a sharp craft or razor blade shaves off the browned fibers a little at a time, which gives more control and a more natural surface than sandpaper. It suits lighter burns best. A deeper burn leaves a visible dent once the dark wood is gone, although the mistake is still less obvious.
- 1
With the pen off and on its stand, hold a sharp craft or razor blade almost upright with the edge across the line. Use the side of the edge, not the point: the point cuts a new groove.
- 2
Scrape with the grain in short, light strokes of about 1/4 to 1/2 in (6 to 12 mm), away from the hand that holds the wood. Check after every 3 or 4 strokes.
- 3
Stop when the mark has faded to the tone of the wood beside it, or as soon as you can feel a dip forming. On plywood stop early, because the face veneer is thin.
- 4
Smooth the raised fibers with 2 or 3 light passes of 320-grit paper, with the grain, and wipe the dust off before you burn or seal the spot.
Note.The same scraping makes highlights on purpose: a few light strokes lift a pale streak out of a shaded area.
Sanding out an overburned pyrography patch or halo
For a halo along the lines or a blotchy area, sandpaper covers more ground than a blade. Use 220 grit to take the color down and 320 grit to finish with the grain and light pressure. Fold the paper to make a crisp edge, or wrap it around a ruler, to work right up to a line without crossing it.
Sandpaper does not choose what it removes. Light shading and thin surface lines next to the mistake come off with it, so plan to burn them again. Wear a dust mask while you sand and wipe the dust away. When you shade the patch again, drop the heat and build the tone in passes, as described in how to shade pyrography.
Deep pyrography burns: redesign around them or cover them
A black, sunken burn goes deeper than a blade or sandpaper can follow without leaving a hollow. Leave the wood alone and change the drawing instead. Burn around the area, not on top of it, so the pit does not get any deeper.
- Widen it: thicken the matching lines elsewhere in the design so the heavy line looks intended.
- Shade behind it: add a darker background, shadow or border so the mark sits inside a dark tone.
- Add an element: a leaf, a knot, a flourish on a letter or a stippled texture can sit over a blob.
- On plywood there is nothing to sand down into. Under the thin face veneer is glue, which must not be burned. See wood burning on plywood.
How to prevent pyrography mistakes on the next piece
Most rows in the first table come from three things: too much heat, too much pressure and a rough surface. Each one has a simple habit that removes it.
- Sand the blank with the grain to 220 to 320 grit and wipe off the dust. Keep transfer lines light.
- Set the heat on a scrap of the same wood, starting low. The temperature chart gives a starting band for each species.
- Use light pressure and slow down for a darker line. Pressing harder cuts a groove that cannot be erased.
- Land the tip while your hand is already moving and lift it while still moving, so no dot forms at the ends of a stroke.
- Wipe carbon off the tip when the burn turns patchy. A clean tip passes heat evenly.
Quick answers
Short answers to the questions people ask about fixing pyrography mistakes. The details for each are in the sections above.
- How do you fix pyrography mistakes? By depth: a sand eraser for pale marks, the side of a blade for brown lines, 220 then 320 grit for patches and a design change for deep burns.
- What is a pyrography eraser? A sand eraser, which is an eraser with fine grit in it. It removes pencil lines and very light burns, not dark ones.
- Can you sand off a wood burn? Yes, if it is shallow. Sanding also strips nearby light shading, and a deep burn leaves a hollow before the color is gone.
- How do you fix a wood burn that is too dark? Scrape it lighter with the side of a blade, then smooth the spot with 320 grit. Stop early: a burn can be darkened again.
- Do you fix mistakes before or after sealing? Before. Once a finish is on, the pen must not go back on that surface, because finished wood is never burned.
What you need for this
- See price on AmazonAmazon
Foggy Bottom basswood plaques, 10 x 8 in, 5-pack
From Best Wood Blanks for Pyrography: Rounds, Plaques and Ornaments
- See price on AmazonAmazon
MyArtscape wax-free graphite paper, A4, 20 sheets
From Best Graphite and Transfer Paper for Wood Burning Patterns
- See price on AmazonAmazon
YIHUA 939D-VII 2-in-1 station, solid and wire pens
From Best Wood Burning Tools With Adjustable Temperature Control