How-to
Wood Burning With a Cricut: Stencil, Burning Gel and Heat Gun
Published
Short answer
A Cricut does not burn wood. It cuts the stencil. You weed the design out of adhesive vinyl, stick the vinyl to sanded bare wood, spread a thin layer of burning gel or scorch marker fluid through the openings, peel the vinyl and heat the design with a heat gun until it turns brown. Scorch Marker asks for a gun of at least 1500 W, and Torch Paste for 400 C or more.
This page is for a Cricut owner who wants burned-look signs, coasters or wood slices and does not own a pyrography pen. The machine's part is small but it decides the result: a stencil that sticks down flat gives crisp edges, and a loose one lets the compound creep underneath. The method works the same with a Silhouette or any other cutter. The steps draw on the makers' instructions for Scorch Marker and Torch Paste and on two published Cricut tutorials, listed at the end. Nothing here was cut or burned by this site.
Is there a wood burning pen for a Cricut?
No source read for this page describes a burning tool that goes in the machine. The Country Chic Cottage tutorial says it plainly: the Cricut cannot do the actual wood burning, but it makes the stencil. Searches for a wood burning pen for Cricut usually lead to the scorch marker, a chemical marker used by hand on the wood after the stencil is in place.
So the job splits in two. The cutter gives you lettering and shapes you could not draw. A heat-activated compound and a heat gun make the burn. If you would rather burn the lines yourself with a hot tip, the page on a scorch marker vs a wood burning pen compares the two routes.
What you need for wood burning with stencils
Everything except the wood compound and the heat gun is standard vinyl kit. Use bare, unfinished wood only: Torch Paste warns that sealer, stain or paint may give off harmful fumes when heated.
- A bare wood blank, pale and even-grained, such as a basswood round. The wood blanks guide compares shapes.
- Adhesive vinyl, transfer tape, a weeding tool and a scraper to press the vinyl down.
- Burning gel or paste with a squeegee, or a scorch marker. The gel and paste guide compares jars.
- A heat gun. Scorch Marker asks for at least 1500 W, and Torch Paste for 1000 W or more reaching 400 C.
- Sandpaper in 220 to 320 grit, eye protection and a heat-safe surface under the work.
Which vinyl holds as a wood burning gel stencil?
The published tutorials do not agree on one vinyl, and they do not need to. The stencil is used once and comes off before the heat, so color and type matter less than how well the edges stick to the wood.
| Source | Stencil material | Used with |
|---|---|---|
| Jennifer Maker | Cricut Premium Vinyl, permanent, any color | Homemade thickened gel |
| The Country Chic Cottage | Smart Vinyl, removable type recommended | Scorch Marker |
| Torch Paste FAQ | Adhesive stencils, plastic stencils, or your own cut on a Cricut | Torch Paste |
| Scorch Marker | Any stencil. Says vinyl gives the best results because it adheres | Scorch Marker |
Note.Vinyl grips a smooth, dust-free surface better than a rough one. Sand smooth and wipe off the dust before the stencil goes on.
Steps: wood burning using a Cricut stencil
Run the whole sequence once on a scrap of the same wood with a small test cut. It shows how far the compound spreads and how long your heat gun takes.
- 1
Sand the bare wood with the grain to 220 to 320 grit and wipe off the dust. Torch Paste asks for 220 grit, and Scorch Marker for at least 320.
- 2
In Design Space, draw a rectangle around the design and attach the two, so the cut leaves a border of vinyl all around the openings to catch stray compound. Cut it on adhesive vinyl.
- 3
Weed the design itself: lift out the letters and shapes and leave the vinyl around them. Leave the centers of letters such as O and A on the backing.
- 4
Cover the stencil with transfer tape, lay it on the wood and press it down with the scraper, working out every bubble. Pay most attention to the edges of each opening, then peel the tape.
- 5
Apply the compound thin. Paste: one pass with a squeegee, then scrape off the excess. Marker: prime it on a paper towel and fill the openings in two light coats.
- 6
Peel the vinyl before any heat. Torch Paste says to lift the stencil, then wait at least 2 to 3 minutes. The marker tutorial lets the fluid dry fully before peeling.
- 7
Preheat the heat gun on its highest setting for at least 90 seconds. Hold it 2 to 3 inches from the wood and keep it moving until the design turns brown.
- 8
Let the wood cool, wipe away any debris with a dry cloth, and seal the piece.
How to stop bleed under the wood burning stencil
Bleed is compound that has crept under the vinyl edge or along the grain. It shows as a fuzzy outline once heated. Thin marker fluid does it more than thick gel. Jennifer Maker reports that the marker bled under her vinyl stencil and that a gel thick enough to stay put stopped it.
- Sand smoother. Scorch Marker says crisp lines come from sanding and suggests 500 grit or finer when edges matter.
- Press the vinyl edges down again with the scraper just before the compound goes on.
- Use less. A thin, even layer of paste or a light coat of marker has less liquid to run.
- Choose pale, even-grained wood such as basswood. Soft or rough wood lets the fluid spread.
- For fine lettering, pick a paste or gel over a marker. The stencil guide lists ready-made sets too.
How to tell the gel burn is done
The design darkens gradually under the gun, and more heat gives a darker burn. Stop when the color is the brown you want. One tutorial reports almost 3 minutes of heat for a single word, so expect minutes, not seconds, and longer on a large sign.
If the design stays pale, the heat source is not hot enough. That is the top cause Scorch Marker gives, and a hair dryer will not do it. If the bare wood around the design starts to tan, the gun is too close or has stopped moving. A finished burn that has cooled can be sealed like any pyrography: how to seal a wood burning covers finishes by project.
Heat gun and gel cautions for stencil burning
Take the vinyl off before heating. Plastic melts under a heat gun and gives off fumes. Heat in a well-ventilated area, wear eye protection and never touch the nozzle. Torch Paste adds that its jar should be kept away from children 12 and under.
Jennifer Maker's homemade gel is ammonium chloride, a food thickener and warm water. She asks for a respirator and eye protection with it, because heat breaks ammonium chloride down into ammonia gas and hydrochloric acid. What the stuff in the jars is, as far as makers publish it, is covered in what wood burning paste is.
Quick answers
Short answers to the searches people type about a Cricut and wood burning pens. Figures are the makers' own, as given above.
- Can a Cricut do wood burning? No. It cuts the vinyl stencil. A heat-activated gel, paste or marker and a heat gun make the burned design.
- Is there a wood burning pen for Cricut? None is described in the sources read here. The scorch marker is used by hand on the stencil.
- Do wood burning gel stencils have to be vinyl? No. Torch Paste says plastic stencils work well too. Adhesive vinyl sticks down, which helps the edges.
- Do you peel the stencil before or after heating? Before. The compound goes on, the vinyl comes off, and only then does the heat gun come out.
What you need for this
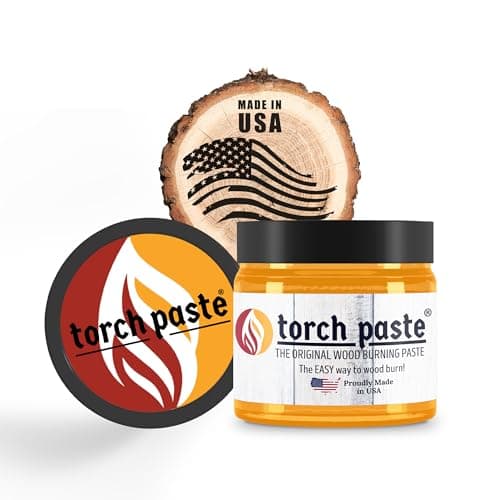 See price on AmazonAmazon
Torch Paste wood burning paste, 3 oz jar
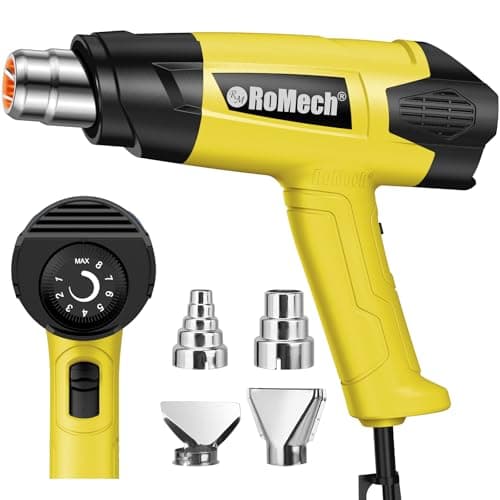 See price on AmazonAmazon
ROMECH 1500 W heat gun, variable 120 to 1200 F
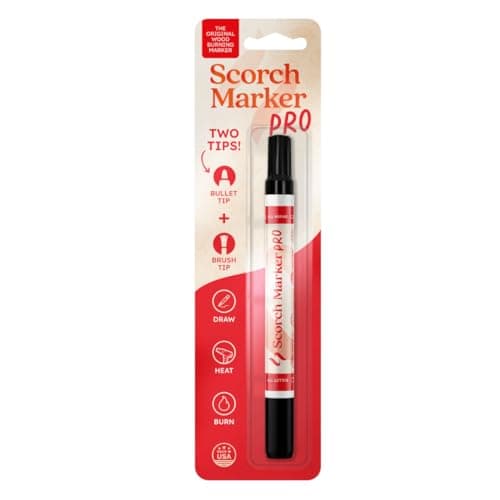 See price on AmazonAmazon
Scorch Marker Pro, bullet and brush tips, 1 marker
From Best Wood Burning Markers: Scorch Pens and Chemical Burn Pens
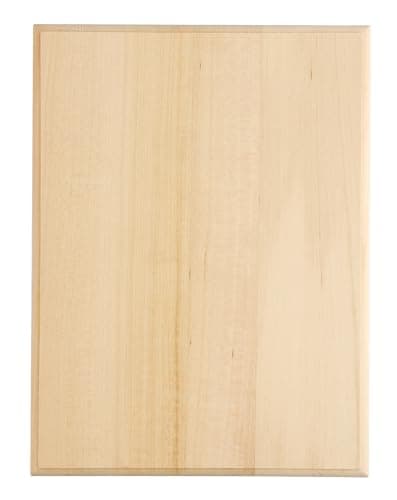 See price on AmazonAmazon
Foggy Bottom basswood plaques, 10 x 8 in, 5-pack
From Best Wood Blanks for Pyrography: Rounds, Plaques and Ornaments